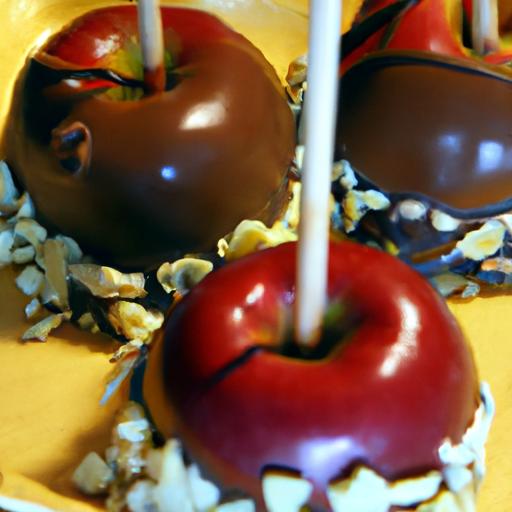
When the craving for a sweet treat strikes but the oven stays off, it’s time to turn to a delight that’s both simple and sensational: no-bake chocolate covered apples. Combining crisp, juicy apples with the rich, velvety embrace of chocolate, this recipe transforms an everyday fruit into an irresistible indulgence. Perfect for swift snacks, festive gatherings, or a guilt-free dessert fix, these no-bake chocolate covered apples offer a perfect balance of freshness and decadence-without heating up your kitchen. Join us as we explore this easy, delightful recipe that’s bound to satisfy your sweet tooth while keeping things refreshingly effortless.
No-bake Chocolate Covered Apples: Easy Sweet Treat Recipe
Discover the irresistible charm of no-bake chocolate covered apples, a timeless autumn treat transformed into an effortless delight. This easy sweet treat recipe marries crisp, juicy apples with a luscious, glossy chocolate coating, making it perfect for gatherings or a cozy night in. With origins tracing back to county fairs and harvest festivals, candy apples have evolved, but thier simple magic remains. This version lets you skip the oven, crafting a stunning confection that’s as gorgeous as it is indeed delicious.
Prep and Cook Time
- Readiness: 15 minutes
- Chilling: 30 minutes
- Total Time: 45 minutes
Yield
Serves 6 beautifully coated apples
Difficulty Level
Easy – perfect for both beginners and seasoned home chefs
ingredients
- 6 medium-sized crisp apples (Honeycrisp or Fuji recommended)
- 12 oz high-quality semi-sweet or dark chocolate chips
- 1 tbsp coconut oil or vegetable oil (for smooth melting)
- Wooden skewers or popsicle sticks
- Optional toppings: crushed nuts, rainbow sprinkles, shredded coconut, sea salt flakes, crushed pretzels
Choosing the Best Apples for maximum Crunch and Flavor
When selecting apples for your chocolate covered treat, the secret lies in picking varieties that boast a firm texture and sweet-tart flavor profile. Honeycrisp and Fuji apples are superior choices, offering a satisfying crunch that stands up beautifully under the coating. Make sure your apples are fresh, glossy, and free of blemishes. Rinse and dry them thoroughly to ensure the chocolate adheres perfectly, as any moisture will prevent a smooth finish.
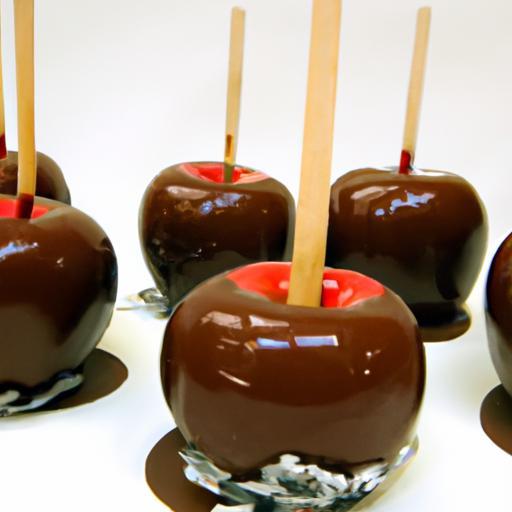
Selecting and Melting Chocolate for a Smooth, Glossy Finish
Choosing the right chocolate is crucial for achieving that coveted glossy shine and silky texture. Opt for good quality semi-sweet or dark chocolate chips-they melt more evenly and preserve rich flavor. To melt,combine the chocolate chips with a tablespoon of coconut oil in a heatproof bowl set over simmering water (double boiler method),stirring constantly until fully liquefied. This oil addition enhances the sheen and prevents seizing. Avoid microwaving directly, which can cause uneven melting or burning. Your melted chocolate should be smooth and fluid enough for even dipping without dripping excessively.
Creative Toppings to Elevate Your No Bake Chocolate Covered Apples
Transform your chocolate covered apples into a feast for the eyes and palate by experimenting with delightful toppings. After dipping,roll or sprinkle the apples with:
- Chopped toasted almonds or pecans for a nutty crunch
- Radiant rainbow sprinkles to add a playful pop
- Shredded coconut for a tropical twist
- Crushed pretzels balancing savory crunch
- A sprinkle of flaky sea salt to contrast chocolate’s sweetness
mix and match toppings for variety,or drizzle extra white chocolate for a decorative finish.
Step by Step Guide to Perfectly Coated Apples Without the Mess
- Prepare your apples: Wash and dry thoroughly, then insert wooden skewers firmly into the stem end of each apple.
- Melt the chocolate: Using the double boiler method, gently melt chocolate chips and coconut oil until smooth and glossy. Stir frequently to avoid scorching.
- Dip apples: Holding the stick, submerge each apple into the chocolate, twisting to coat evenly. Lift and allow excess chocolate to drip back into the bowl.
- Apply toppings quickly: While the chocolate is still wet, roll or sprinkle your desired toppings over the apple’s surface.
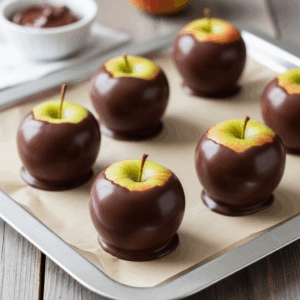
- Set the apples: Place coated apples onto a parchment-lined baking sheet. Chill in the refrigerator for 20-30 minutes to allow the chocolate to harden perfectly.
- Cleanup tip: Line your work surface with parchment or wax paper. For quick cleanup, warm water with a little dishwashing liquid dissolves leftover chocolate easily.
Chef’s Notes
- Use firm, ripe apples to prevent sogginess and guarantee crunch in every bite.
- For a dairy-free option, use vegan chocolate chips and coconut oil.
- If your chocolate seizes, add a teaspoon of warm water and stir gently to smooth it out.
- Make these sweet treats ahead of time and store them chilled in an airtight container, consuming within 48 hours for the best texture.
- Experiment with flavored chocolates like hazelnut or orange-infused variants to add personalized flair.
serving Suggestions
Present your chocolate covered apples on a rustic wooden tray lined with wax paper to showcase their glossy sheen and vibrant toppings. Garnish with fresh mint leaves or edible flowers for a festive look. These make an ideal afternoon snack paired with warm spiced cider or a cozy cup of tea. For parties, arrange them alongside a platter of popcorn and cheese for a sweet-savory spread everyone will love.
| Nutrient | Per Serving (1 apple) |
|---|---|
| Calories | 220 |
| Protein | 2 g |
| Carbohydrates | 35 g |
| Fat | 8 g |

For more creative no-bake dessert ideas, check out our No-bake Desserts Collection. To deepen your chocolate melting skills, explore Cacao Academy’s tempering guide.
Q&A
Q&A: No-bake Chocolate Covered Apples – easy Sweet Treat Recipe
Q1: What makes this no-bake chocolate covered apples recipe so special?
A1: This recipe is a game-changer because it combines the fresh crispness of apples with the rich, creamy allure of chocolate-without ever turning on the oven. It’s quick, fuss-free, and perfect for anyone craving a sweet, healthy-ish treat with minimal cleanup. Plus,no baking means you can whip it up even on a hot summer day!
Q2: Which type of apples work best for this recipe?
A2: Crunchy apples like Granny Smith,Honeycrisp,or Fuji are your best bet.Their firm texture holds up well under the chocolate coating and provides that delightful tart-sweet contrast that keeps every bite engaging.
Q3: can I use any kind of chocolate?
A3: Absolutely! Dark, milk, or white chocolate all work beautifully. Dark chocolate offers a complex depth and less sweetness, while milk chocolate adds creamy comfort. White chocolate can be extra fun if you want to drizzle or decorate with colorful toppings.
Q4: How do I prevent the chocolate from melting or becoming messy?
A4: Keep your apples chilled in the fridge beforehand and use a gentle double boiler or microwave method to melt the chocolate slowly. Once dipped, place the apples on parchment paper and refrigerate immediately. It helps the chocolate set firmly and keeps things tidy.
Q5: Are there any fun variations or toppings to try?
A5: the sky’s the limit! Sprinkle crushed nuts, shredded coconut, sea salt, or even mini candy bits on the chocolate before it sets. For a gourmet touch, try drizzling caramel or adding a pinch of cinnamon or chili powder to the chocolate mix.
Q6: How long can I store these chocolate-covered apples?
A6: When kept in an airtight container in the refrigerator, they stay fresh and delicious for 2 to 3 days. for best texture and flavor, enjoy them within 24 hours of dipping.
Q7: Is this recipe suitable for kids to make?
A7: Definitely! It’s a marvelous no-bake project that’s safe and easy for kids to help with. just supervise the chocolate melting step, and let them have fun decorating their apple creations with colorful toppings.
Q8: Can I make these apples gluten-free and vegan?
A8: Yes! Just choose gluten-free chocolate chips and vegan-friendly chocolate varieties. Apples are naturally gluten-free and vegan, making this sweet treat naturally inclusive with the right ingredient choices.
Q9: What’s the best way to serve these chocolate covered apples?
A9: Serve them chilled on a decorative platter for parties, picnics, or an indulgent snack. They’re perfect as a guilt-free dessert or a whimsical addition to holiday celebrations.
Q10: Why is this recipe a must-try for chocolate lovers?
A10: Because it delivers the ultimate combo of juicy fruit and luscious chocolate in the easiest way possible. No baking means instant gratification and a mess-free experience,bringing joy to your taste buds with every dip and crunch. Plus, it’s a creative kitchen adventure that’s both tasty and visually stunning!
Insights and Conclusions
As the final bite of your no-bake chocolate covered apple melts away, you’ll realize this simple treat is more than just a snack-it’s a delightful blend of crisp, juicy fruit and rich, velvety chocolate that satisfies cravings without the fuss. whether you’re whipping them up for a spontaneous gathering or a cozy night in, these sweet morsels prove that indulgence doesn’t have to be complicated. So next time you want to impress without the oven, remember: a handful of apples, some melted chocolate, and a sprinkle of creativity are all you need to craft a delicious moment worth savoring.