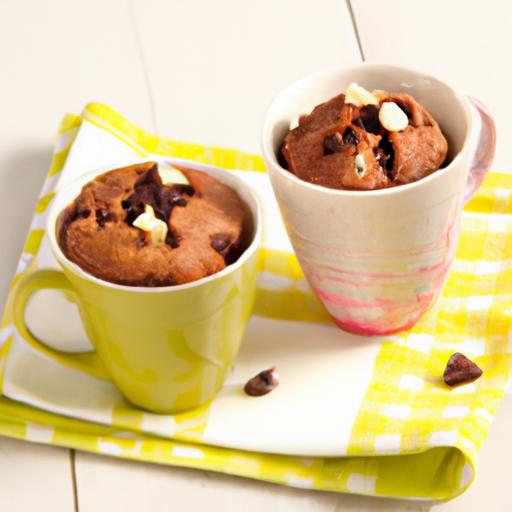
When a chocolate craving strikes and there’s no time to bake from scratch, the swift and easy microwave mug brownie swoops in like a sweet superhero. This delightful treat transforms simple pantry staples into a warm, fudgy dessert in just minutes-no oven required. Whether you’re a busy bee, a novice baker, or simply in need of instant gratification, this recipe promises rich, gooey chocolate goodness straight from mug to mouth. Get ready to whip up your next indulgence with nothing but a microwave and a few simple ingredients!
Quick & Easy Microwave Mug brownie: Dessert in Minutes! brings the irresistible charm of rich, warm chocolate into your busy day without the wait. This single-serving brownie recipe was born from late-night cravings and the desire for instant gratification, blending simplicity and decadence in one cozy cup. Imagine savoring a fudgy, gooey treat whose chocolaty aroma fills your kitchen in under five minutes-no oven, no mess, just pure delight.

Prep and cook Time
- Prep Time: 2 minutes
- Cook Time: 1 minute
- Total Time: 3 minutes
Yield
Serves 1-perfect for individual indulgence or as a quick dessert fix.
Difficulty Level
Easy – ideal for beginner bakers and microwave novices alike.
Ingredients That Transform Your Microwave Mug Brownie Into a Decadent Treat
- 4 tablespoons all-purpose flour, sifted for a smooth base
- 4 tablespoons granulated sugar, to balance the richness
- 2 tablespoons unsweetened cocoa powder, packed for deep chocolate flavor
- 1/8 teaspoon baking powder, to add just a hint of lift
- 2 tablespoons vegetable oil or melted butter, for moistness and silkiness
- 3 tablespoons whole milk, to bring the batter together
- 1/4 teaspoon vanilla extract, to enhance aroma and sweetness
- Pinch of salt, to highlight and deepen chocolate nuances
- Optional mix-ins: 2 tablespoons chocolate chips, chopped nuts, or a sprinkle of instant espresso powder
Step by Step Guide to Perfecting Your quick Microwave Mug Brownie
- Combine dry ingredients: In a microwave-safe mug (12 oz capacity),whisk together the sifted flour, sugar, cocoa powder, baking powder, and salt until evenly blended. This ensures no lumps and an even texture.
- Add wet ingredients: stir in the vegetable oil, milk, and vanilla extract. Mix thoroughly but gently until the batter is smooth and glossy, scraping the sides of the mug for full incorporation.
- Customize the batter: Fold in your chosen mix-ins like chocolate chips or nuts for bursts of texture and flavor.
- Microwave with care: Place the mug in the microwave and cook on high for 60 seconds. Cooking times may vary, so start with 50 seconds for low-wattage units and adjust.
- Check doneness: The brownie should be set but still moist-avoid overcooking to maintain fudginess. If needed, microwave in additional 10-second bursts.
- Cool briefly: Let your brownie cool for 1-2 minutes before digging in; it firms up slightly and reaches perfect melt-in-the-mouth consistency.
Tips and Tricks for Customizing Flavors and Textures in Minutes
- Swirl in peanut butter or Nutella: Drop a teaspoon into the batter before microwaving to create luscious ribbons of indulgence.
- Experiment with spices: Add a pinch of cinnamon or cayenne for a warming twist that elevates basic chocolate.
- Health-conscious swaps: Use coconut oil or almond milk for dairy-free favorites; replace sugar with maple syrup for subtle natural sweetness (reduce liquid accordingly).
- Boost texture: Incorporate crushed pretzels or toffee bits for a playful crunch contrast to the smooth brownie.
- If your microwave mug brownie sinks or cracks: Make sure to use a large enough mug and avoid overcooking by testing microwave power levels.
Serving Suggestions to Elevate Your Microwave Mug Brownie Experience
Transform this quick dessert into a showstopper with just a few thoughtful touches:
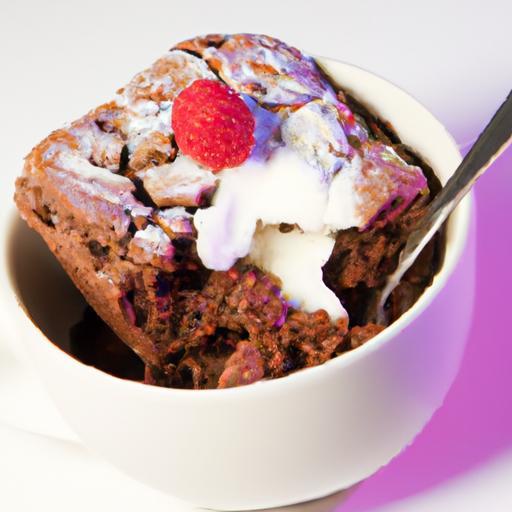
- Top with a scoop of vanilla ice cream for the classic hot-and-cold sensation that takes every bite next-level.
- Drizzle with warm caramel or ganache sauce for extra decadence and shine.
- Sprinkle with freshly chopped mint leaves or a dusting of powdered sugar for a refined look and fresh lift.
- Add a dollop of whipped cream and a few fresh berries to brighten flavors and add visual appeal.
- For an indulgent adult twist, pour a spoonful of Baileys Irish Cream over the brownie-divine warmth in every bite.
| Nutritional Info (per serving) | Amount |
|---|---|
| Calories | 350 kcal |
| Protein | 5 g |
| Carbohydrates | 48 g |
| fat | 15 g |

For more quick dessert ideas that fit into your busy lifestyle, check out our Quick Desserts for Busy Weeknights collection and transform simple ingredients into sweet satisfaction every time.
Q&A
Q&A: Quick & Easy Microwave Mug Brownie – Dessert in minutes!
Q1: What exactly is a microwave mug brownie?
A1: Think of it as your personal-sized, fudgy brownie baked right in a mug using your microwave. Its a super speedy way to satisfy your chocolate cravings without the mess, fuss, or wait time of a traditional oven bake!
Q2: How does the cooking time compare to regular brownies?
A2: Traditional brownies can take 25-35 minutes in the oven, but the microwave mug brownie zips to perfection in about 60-90 seconds. It’s dessert at the speed of now!
Q3: What ingredients do I need for this quick brownie?
A3: Basic pantry staples usually do the trick: flour, sugar, cocoa powder, a pinch of salt, baking powder, a splash of oil, milk, and a little vanilla extract. Some recipes even sneak in instant coffee or chocolate chips for extra oomph.
Q4: Is it healthy or just a guilty treat?
A4: While it’s definitely a sweet indulgence, you can tweak ingredients to suit your goals-swap sugar for natural sweeteners, use whole wheat flour, or add a spoonful of Greek yogurt for protein. Balanced or indulgent, it’s your call!
Q5: Can I customize my mug brownie?
A5: Absolutely! Feel like nuts, coconut flakes, caramel drizzle, or a pinch of cinnamon? Go for it. The beauty of the mug brownie is its versatility and adaptability to your flavor mood.
Q6: Any tips to avoid a rubbery or overcooked brownie?
A6: Microwave ovens vary, so start by cooking in 30-second increments and check after each burst. The brownie should be set but still slightly gooey in the center. overcooking can turn it rubbery, so keep a close eye.
Q7: What size mug works best?
A7: Use a microwave-safe mug that holds at least 10-12 ounces to prevent overflow. Bigger mugs give the batter room to rise and stop any messy lava-style eruptions.
Q8: can kids make this themselves?
A8: Yes, with adult supervision! It’s a fantastic, hands-on way to introduce kids to baking basics, plus they get to enjoy their flavorful creation minutes later.
Q9: What makes this dessert ideal for busy schedules?
A9: The speed and simplicity! No preheating, no mixing bowls buried in the sink-just mix your ingredients directly in the mug, zap it, and dessert is served. Perfect for last-minute cravings or a quick treat after dinner.
Q10: Where can I find a reliable microwave mug brownie recipe?
A10: Tons online! Look for recipes that use simple ingredients you already have. Many food blogs, cooking apps, and YouTube channels offer creative takes, from classic chocolate to peanut butter swirl. Start with a trusted favorite and then experiment!
Enjoy the magic of turning your mug into a molten chocolate delight anytime you want-your quick and easy microwave mug brownie awaits!
In Conclusion
Whether you’re craving a sweet treat or need a last-minute dessert fix, this quick and easy microwave mug brownie has got you covered. In just minutes, you can enjoy a warm, fudgy delight without the fuss of a traditional bake. Perfect for solo indulgence or sharing (if you can resist!), this little mug miracle proves that sometimes, the best desserts come in the smallest packages. So next time the sweet tooth calls, remember: happiness is just a microwave beep away!